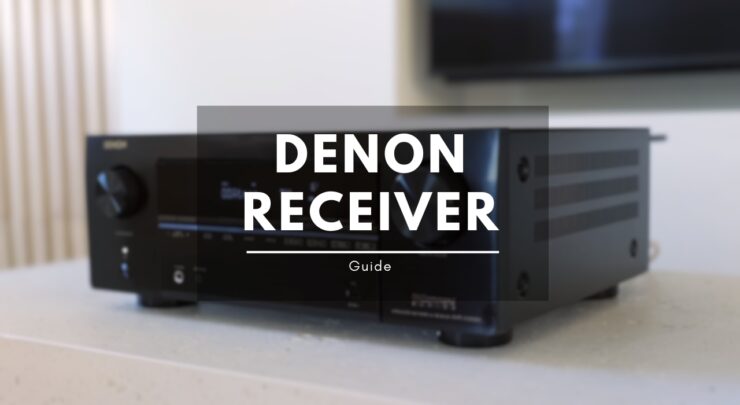
Denon receivers are renowned for their exceptional audio quality and advanced features, making them a popular choice among audio enthusiasts and home theater aficionados. However, setting up a Denon receiver for the first time may seem daunting, especially with the multitude of connectivity options and configurations available. In this comprehensive guide, we will walk you through the essential steps to set up your Denon receiver and unlock its full potential. While Denon receivers manuals offer invaluable guidance, following these steps will ensure a smooth and hassle-free setup process.
Unboxing and Inspection:
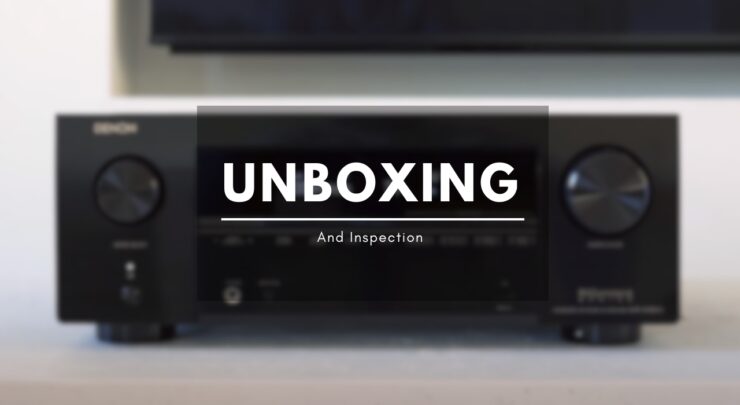
Upon receiving your Denon receiver, begin by carefully unboxing and inspecting the contents. Check for any physical damages or missing components. Your Denon receiver package should include the receiver unit, a remote control, batteries, antennas, a power cord, and possibly a calibration microphone.
Selecting an Ideal Location:
Choosing the right location for your Denon receiver is crucial for optimal performance. Select a well-ventilated area with sufficient space around the unit to prevent overheating. Avoid placing the receiver in enclosed cabinets or shelves that restrict airflow. For home theater setups, position the receiver close to your TV and other audio/video sources for easy connectivity.
Connecting the Cables:
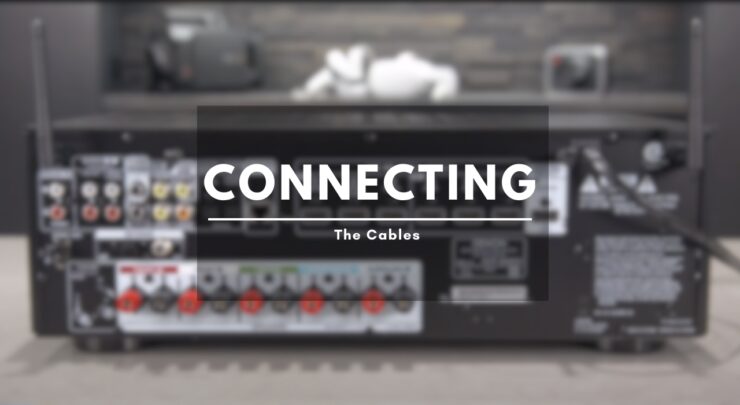
Next, connect your Denon receiver to your audio and video sources. Begin by plugging in the power cord and turning on the unit. Use high-quality HDMI cables to connect your TV, Blu-ray player, gaming console, and other devices to the appropriate HDMI inputs on the receiver. For legacy devices, use composite or component cables. For audio sources like CD players or turntables, connect them to the analog audio inputs.
Speaker Setup:
Setting up your speakers correctly is vital for an immersive audio experience. Identify the speaker terminals on your Denon receiver and connect each speaker to the corresponding terminal (Front, Center, Surround, etc.). Make sure to observe polarity, with the positive (+) and negative (-) terminals aligned correctly. If your receiver supports a subwoofer, connect it to the dedicated subwoofer output.
Calibration and Configuration:
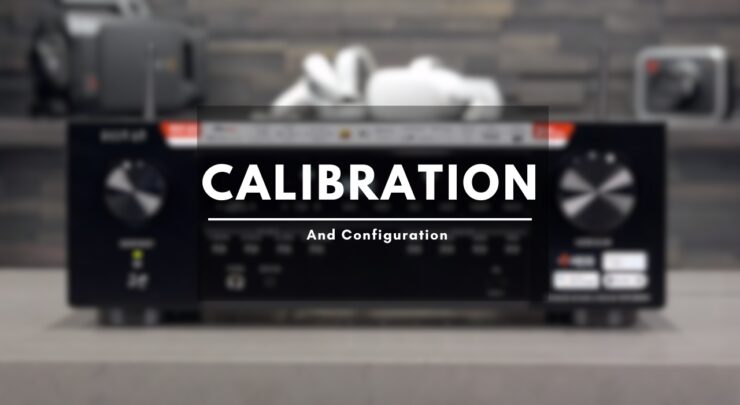
Denon receivers often feature advanced automatic calibration systems to optimize audio performance based on your room’s acoustics. Most models come with an included calibration microphone. Follow the instructions in the Denon receiver manual to run the calibration process. This will set the appropriate speaker levels, distances, and crossover points for an optimal surround sound experience.
Network and Streaming Setup:
If your Denon receiver offers network connectivity and streaming capabilities, connect it to your Wi-Fi network or router using an Ethernet cable. Once connected, follow the on-screen instructions to set up Wi-Fi or log in to your streaming service accounts. This will enable you to enjoy seamless access to online music services, internet radio, and audio streaming from your devices.
Conclusion:

Setting up your Denon receiver may initially seem complex, but with this guide and the Denon receivers manual by your side, you can confidently configure your audio system for an unparalleled entertainment experience. Properly connecting cables, arranging your speakers, and utilizing the automatic calibration feature are crucial steps to ensure optimal audio performance. Additionally, enabling network connectivity will open up a world of streaming options for a diverse selection of music and content.
With your Denon receiver set up to perfection, you can sit back, relax, and revel in the exceptional audio quality that Denon is renowned for.
When setting up your Denon receiver for the ultimate home theater experience, you might find yourself torn between LG and Samsung when it comes to choosing the right smart TV – we compare the two in a detailed article.