People who have just started investing in cryptocurrencies decided to step up security and acquire a Trezor Model T. Trezor creates some of the most well-known hardware wallets available, such as the Model T. It has a touch screen, different backup and redundancy functions, as well as native compatibility for the Trezor Suite software, which unifies a variety of features, coins, and tokens into a single user experience.
Because it’s simple to install and use, one can purchase assets and tokens directly through the Trezor Wallet app and swap assets and tokens within the app. The Model T is a perfect cryptocurrency hardware wallet for novices. Due to its mix of capabilities, which most other software wallets lack, it is an excellent choice for cryptocurrency newcomers as they do not need to sign up with an exchange to make their initial purchase of cryptocurrency coins or tokens. Though setting up a new hardware wallet can be challenging, like the Trezor One vs. Model T, this step-by-step manual will help the user to get started securely.
Examining the Seal
A secure hologram seal guards the Trezor Model T packaging. Verify that the device’s bottom seal has not been tampered with. Before continuing with the Trezor setup, the seal must be in excellent condition.
Unboxing the Wallet
Open the box of new Trezor and take everything out. One should discover the following items within the box:
- USB-C cable
- Trezor Model T
- Model T magnetic dock
- Recovery card
- Stickers
Visit the Trezor Website

- To continue with the setup, go to the Trezor website.
- Then the site will suggest inspecting the holographic seal.
- Click continue if everything appears good.
Upgrade The Firmware On The Gadget
The next step is to update the firmware. To upgrade, click reveal information and then adhere to the following instructions.
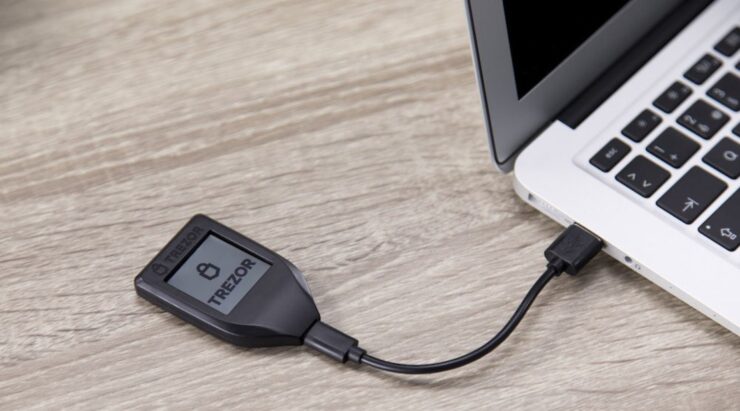
- Unplug the device.
- When the finger is halfway across the Trezor’s touch screen, begin plugging it in.
- Verify the connection on the device when it is in bootloader mode.
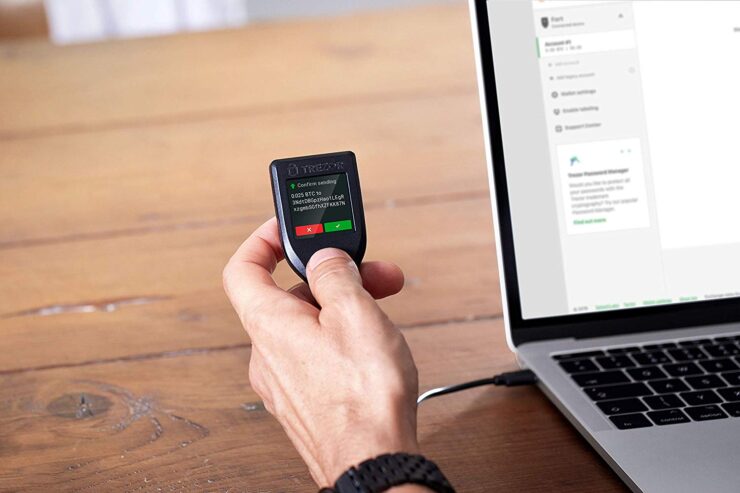
- After that, click update to the most recent version and check the option to indicate that one has the recovery seed.
- A message will now pop up on the device. To proceed, click the green checkmark.
- The wallet will be updated; this process could take a few minutes.
- It will then return to the screen once this is finished.
- A splash screen will appear if the steps are followed properly
Creating a Wallet
In this step, Trezor will prompt the user to choose between creating a new wallet and recovering an existing one.
- One likely needs to create a wallet. Therefore, follow the images and tap the green check to confirm the action on the gadget.
- Hit the Recover wallet option to get the old wallet back.
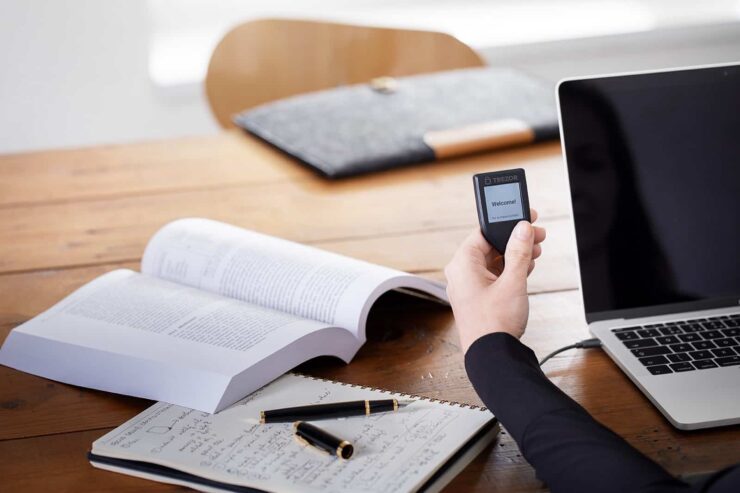
- The Trezor software’s welcome screen is used as an example to show how to set up and operate the Trezor Model T.
- Click the green button when using this for the first time.
- The Trezor should read “Requires backup” and “The Wallet is not backed up yet” on the computer screen.
Device Backup
This is the most crucial step. One needs to make a backup of the wallet so that one can still recover the assets if anybody misplaces the device.
Follow these important points:
- Don’t photograph your recovery seed.
- One should not post it online.
- Keep it off of the cloud storage.
- Avoid saving it to the computer.
The gadget never stores the recovery phrase. The user will only be able to get the valuables back when losing both of these and the smartphone.
- Keep in mind that the only backup to the valuables is the recovery phase. Anyone with knowledge of this phrase has access to all of the money.
- Click the option for creating a backup in 3 minutes.
- After getting familiar with the backup procedure, go through the warnings and click the terms and conditions agreement checkbox.
- On the Trezor device, select the checkbox that states “the user understands.”
- The Trezor screen will now show the recovery phrase; note each word on the sheet.
- Hold down the device’s green button after finishing writing this down to proceed.
- The gadget will check to see if the user entered the passphrase correctly. The Trezor will function like a vintage phone, with three letters shown on each button. Click the first button three times to go to C, then click the third twice to get to H, and so on.
- Till all 12 words are written, enter the words that go with the number and press the next button.
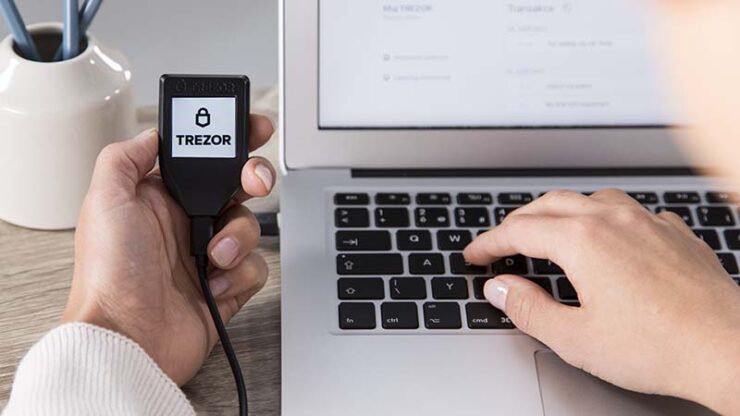
The user has backed up the device, which will appear when checking the computer. To proceed to the following step, click the Continue button.
Naming the Device
The page will explain why one might wish to give the gadget a name; simply click the next button to proceed.
- To proceed, enter the name of the user’s choosing in the box and click Confirm.
- Go to the device and click the green check to confirm the name change.
- Return to the computer and press the Continue button.
The name has changed.
Creating a PIN
The next step is to set up a PIN for the gadget. This PIN will be used to secure the device from theft. Make sure to record this and keep it in a safe place.
- To confirm that one wishes to create a new pin, go to Trezor and select the green button.
- Enter the preferred pin and then click the green check!
- The user will be prompted to confirm the PIN before entering the code and clicking the tick.
- Upon returning to the computer, one should see a confirmation message. It means the PIN is set.
- Next is to click Continue.
- Congratulation, and click “Finish”!
The gadget is now configured and prepared for use.
Conclusion
Now is the time to use your wallet easily and without hassles. One of the safest bitcoin wallets available is the Trezor Model T. The brand-new Trezor Suite management software has made the setup procedure significantly simpler while being daunting for some people. If facing any problem, just contact customer care, and the user will get help in no time.